

Carpeting Your Ride
By Phil Lapin / CPPC Tech Committee & Vice President
Last month, I covered putting sound deadening material inside a vintage vehicle. The most important area for this is the floor. This month, I will discuss what I have done to put underlayment and carpet into my 1942 Plymouth. It is not a complicated task, but it does take time and a lot of fitting. Taking the front seat out of your vehicle will help a LOT on this task, or else there is a lot of twisting and turning in awkward positions – and I’m too old for that!
My 1942 sedan has a lot of floor area, but the most critical factor for cars of the 40s is the front floor area. There are the obvious holes that are necessary for brake, clutch, accelerator rod, and at least a dimmer switch. These can be dealt with. More importantly, I need access through the front driver floor for the brake master cylinder. I also wanted to be able to remove the front floor panel covering the tunnel if needed. My solution was to cut and fit a front carpet area consisting of 4 separate panels. There are two center panels covering the tunnel “hump”. An upper panel covers the section of the tunnel that goes up steeply to the firewall. Below that, and overlapping the bottom of the upper panel by about an inch is the second center panel. It extends from the overlap down to a few inches under the front seat (when the seat is back as far as possible.) The other two front panels cover the left and right “flat” floor areas, once again extending from a few inches under the front seat to the upper portion of the firewall covering. Both of those panels fit flush against the outer kick panels, and up the sides of the tunnel about an inch. These are overlapped by the tunnel panels for a clean finish. The rear carpeting is much easier – I used one single piece which extends up under the front seat to where the front panels end.
Before doing any of this installation, use heavy paper to make templates of the floor areas – and then cut your materials a bit oversized and trim to fit.
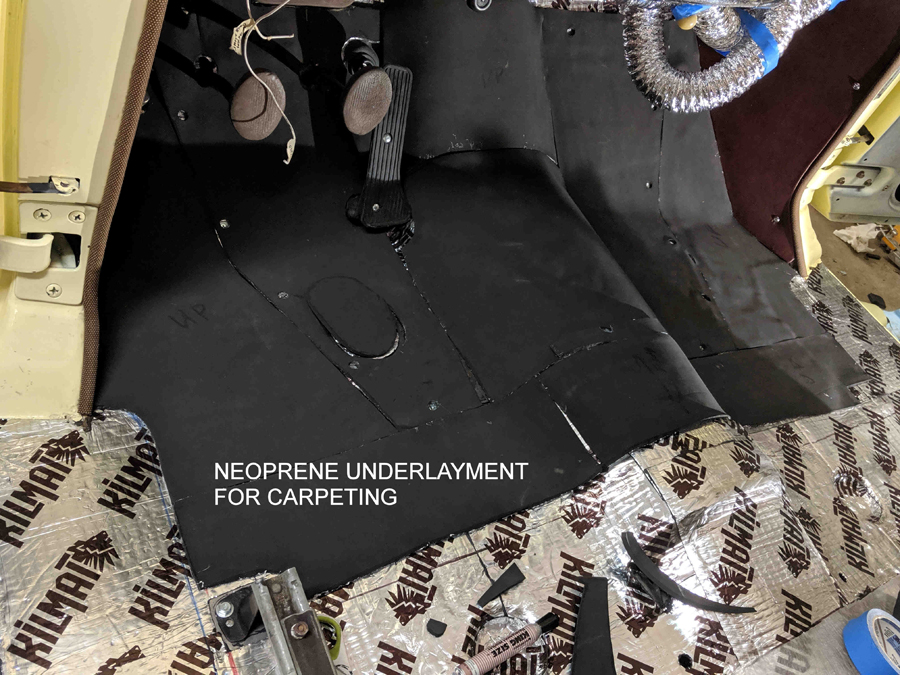 The auto floor carpet that I got is fairly thin, having a rubberized backing. It needed some form of underlayment to cushion it. I do not like the idea of using household type underlayment, or fiber matting – since they both will hold water and encourage mildew and rusting. Instead, I opted for neoprene rubber sheeting ¼ inch in thickness. This material is very similar to what wetsuits are made of. There is no reinforcement in the sheets, so it can be cut and contoured fairly easily. This sheeting was ordered from Amazon (“Neoprene Sponge Foam Rubber Sheet Roll”) I ordered two rolls that were roughly 3x5 feet, at $30 per sheet. It covered all of my flooring except for a small band beneath the front seat. I cut it so that there are seams around the removable front floor panel, as well as the brake master cylinder access. Heavy duty “automotive headliner” spray cans were used to spray and anchor it to the base sound deadening material.
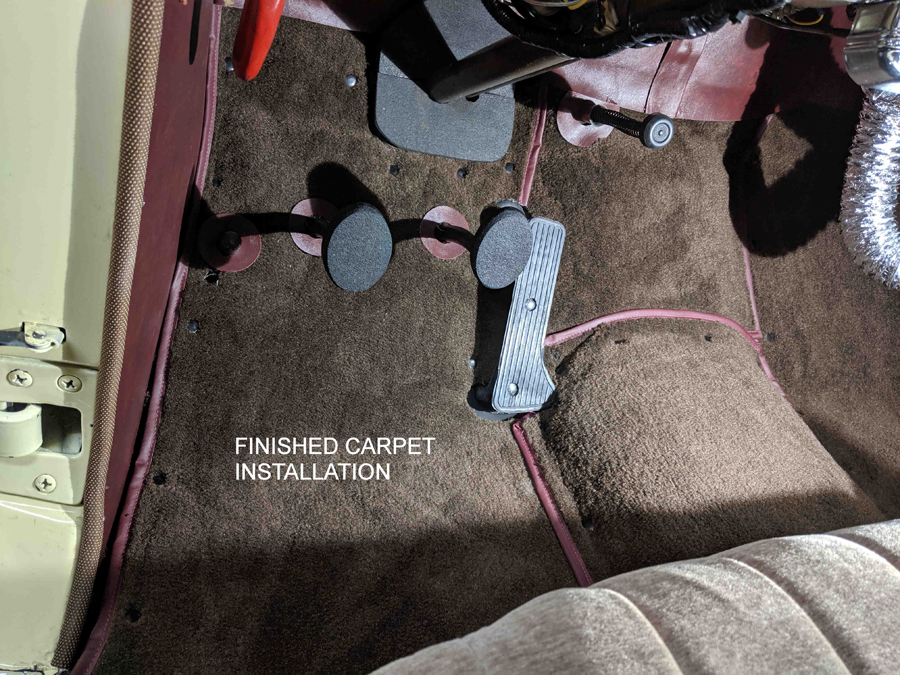 The carpet was then cut to match my paper templates – with hole locations being the most critical. (Make sure to keep ALL the carpet pieces aligned in the same direction with the nap) I removed the brake and clutch pedal foot pads – so I had much smaller pieces to feed through the carpet (without cutting slits up the firewall). All of the holes were cut with a sharp knife, and made a bit oversize to prevent binding. After installation, I cut matching vinyl material into “doughnut” rings, and used “Goop” glue to stick them down to the carpet around the holes. I took the finished panels to my upholstery guy, who ran a vinyl binding around the edges for me. I also had enough left over carpet to make 4 foot pads which are loose.
Attaching all of the floor carpeting panels – front and back – was done using a combination of stainless snaps and Velcro material. The snaps worked great, but they require drilling through the floor to screw the bottom half of the snap down. I used Velcro in areas that were hard to reach, but could have used it for everything. I ordered 1 inch Velcro without adhesive (the sew on kind) and attached it using hot melt glue. I find that the pre-applied adhesive on Velcro gets sticky and fails inside hot cars – thus the hot melt glue bonding it.
The end result was a very nice looking install – with no big bulges or wrinkles in the tunnel areas. Plus I can remove panels for cleaning if necessary!
